As an Amazon Associate, I earn from qualifying purchases
Car window tint adds privacy, reduces glare, and keeps your interior cooler on hot days. But like any part of your vehicle, tinted windows need regular maintenance to perform their best. Many car owners worry about cleaning their tinted windows, fearing they might damage the delicate film that provides all those benefits.
The good news? Learning how to clean window tint on car windows properly isn’t complicated. With the right approach and materials, you can keep your tinted windows crystal clear while protecting your investment. Proper cleaning techniques will extend the life of your tint, maintain optimal visibility, and keep your car looking sharp for years to come.
This comprehensive guide will walk you through everything you need to know about cleaning tinted windows safely and effectively. You’ll discover which products to use, which ones to avoid, and the step-by-step process that professionals recommend.
Table of Contents
- 1 Why It’s Important to Clean Window Tint
- 2 How to Clean Window Tint on Car (Step-by-Step)
- 3 Best Cleaning Products for Window Tint
- 4 How to Avoid Common Mistakes When Cleaning Window Tint
- 5 Additional Tips for Long-Term Tint Maintenance
- 6 Keeping Your Tint Crystal Clear
- 7 Frequently Asked Questions About cleaning car window tint.
Why It’s Important to Clean Window Tint
Regular cleaning of your car’s window tint serves multiple purposes beyond just appearance. Clean tinted windows provide clearer visibility, which is essential for safe driving. Dirt, dust, and grime can accumulate on the surface, creating a hazy layer that reduces your ability to see clearly, especially during nighttime driving or in bright sunlight.
Maintaining clean tinted windows also prevents long-term damage to the film itself. When dirt and debris build up over time, they can create tiny scratches when you finally do clean the windows. These microscopic scratches may seem insignificant at first, but they gradually compromise the tint’s effectiveness and appearance.
Another crucial reason for regular cleaning involves protecting your financial investment. Quality window tint installation can cost several hundred dollars, depending on your vehicle and the type of film used. Proper maintenance helps ensure you get the maximum lifespan from your tint, which typically ranges from 10 to 20 years when properly cared for.
However, using improper cleaning methods can cause irreversible damage to your window tint. Harsh chemicals, abrasive materials, or excessive pressure can cause the film to bubble, peel, or discolor. This type of damage often requires complete tint replacement, which could have been easily avoided with proper cleaning techniques.
How to Clean Window Tint on Car (Step-by-Step)
Cleaning tinted windows requires a gentle approach and the right materials. Follow these detailed steps to ensure your windows stay spotless without damaging the tint film.
Step 1: Gather Your Materials
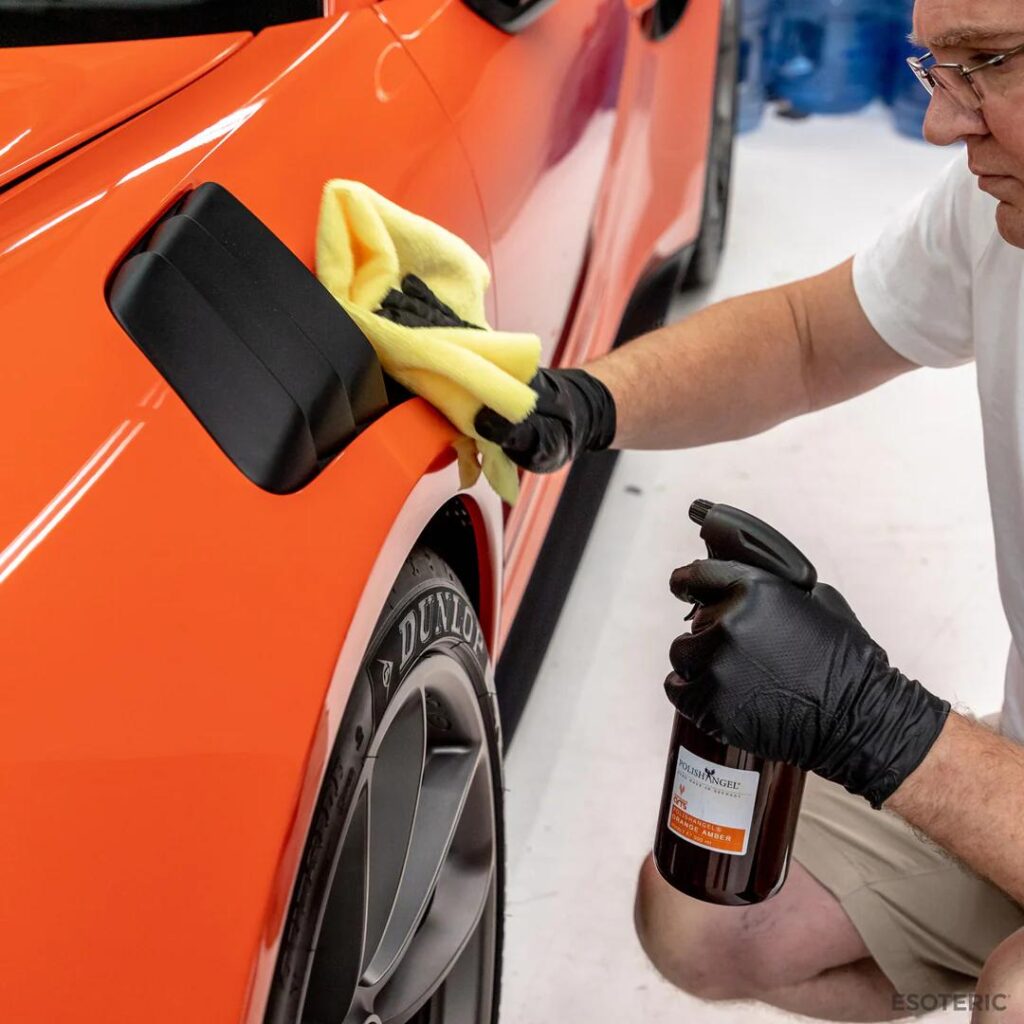
Before you begin, collect all the necessary cleaning supplies. You’ll need at least two clean microfiber cloths, a spray bottle filled with your chosen cleaning solution, and access to clean water. Having everything ready beforehand prevents you from leaving cleaning solution on your windows longer than necessary.
Choose a shaded area for cleaning, as direct sunlight can cause cleaning solutions to dry too quickly, leaving streaks or residue. Early morning or late afternoon provides ideal conditions for window cleaning.
Step 2: Test Your Cleaning Solution
Always test your cleaning product on a small, inconspicuous area first. Apply a small amount of cleaner to a corner of one window and gently wipe with a microfiber cloth. Wait a few minutes to ensure the cleaner doesn’t cause any discoloration, bubbling, or other adverse reactions to the tint film.
This testing step is particularly important if you’re using a new cleaning product or if your tint is relatively new. Different tint films may react differently to various cleaning solutions, even those marketed as tint-safe.
Step 3: Apply the Cleaning Solution
Spray your chosen cleaner evenly across the tinted window surface. Avoid oversaturating the window, as excess liquid can seep into the edges of the tint film and cause problems. A light, even mist is typically sufficient for most cleaning jobs.
Work on one window at a time to prevent the cleaning solution from drying before you can properly wipe it away. This approach also allows you to maintain consistent pressure and technique across all windows.
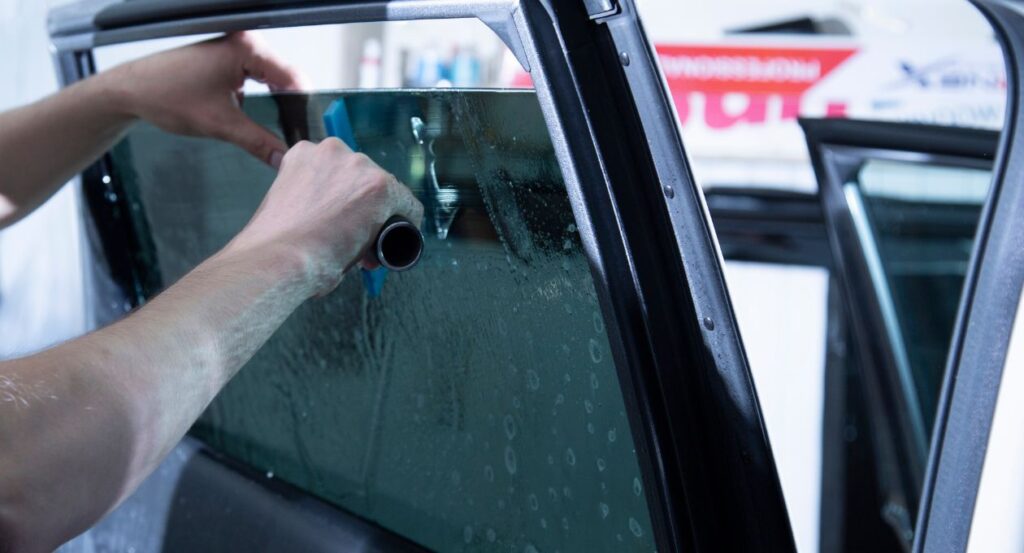
Step 4: Clean with Gentle Circular Motions
Using a clean microfiber cloth, gently wipe the window in circular motions, starting from the top and working your way down. Apply light, consistent pressure throughout the process. Microfiber cloths are ideal because they trap dirt and debris rather than pushing it around the surface.
Pay special attention to areas where dirt commonly accumulates, such as the bottom edges of windows and around door frames. These areas may require slightly more attention, but maintain your gentle approach to avoid damaging the tint.
Step 5: Remove Excess Cleaner
After cleaning the entire window surface, use a second clean microfiber cloth to remove any remaining cleaning solution. This step is crucial for preventing streaks and ensuring no chemical residue remains on your tint.
Work in straight, overlapping strokes when removing excess cleaner. This technique helps eliminate streaks that can occur when using circular motions during the final drying phase.
Step 6: Final Drying and Inspection
Complete the process by thoroughly drying the window with a dry section of your microfiber cloth or a third clean cloth if necessary. Inspect your work from both inside and outside the vehicle to ensure you haven’t missed any spots or left any streaks.
If you notice any remaining streaks or spots, address them immediately using a slightly damp cloth and minimal pressure. Sometimes, a quick buff with a dry microfiber cloth is all that’s needed to achieve a perfect finish.
Best Cleaning Products for Window Tint
Selecting the right cleaning products is essential for maintaining your window tint safely. The most important rule is to avoid any products containing ammonia, as this chemical can cause tint film to deteriorate, discolor, or separate from the glass.
Commercial tint-safe cleaners are specifically formulated to clean tinted windows without causing damage. These products are typically alcohol-based rather than ammonia-based, making them safe for regular use on tinted surfaces. Popular brands offer dedicated automotive glass cleaners that explicitly state their compatibility with window tint.
For a budget-friendly DIY option, mix a few drops of mild dish soap with warm water in a spray bottle. This simple solution effectively removes dirt and grime without harsh chemicals that could damage your tint. Ensure the soap you choose doesn’t contain any degreasers or harsh additives.
Another effective homemade cleaner combines equal parts white vinegar and water. This natural solution cuts through dirt and grime while being gentle on tint films. The vinegar helps eliminate streaks and provides a crystal-clear finish when used properly.
Some car owners successfully use baby shampoo mixed with water as a gentle cleaning solution. The formula is designed to be non-irritating and mild, making it suitable for delicate surfaces like window tint. Use approximately one tablespoon of baby shampoo per quart of water.
How to Avoid Common Mistakes When Cleaning Window Tint
Understanding what not to do is just as important as knowing proper cleaning techniques. Many well-intentioned car owners accidentally damage their window tint by using inappropriate materials or methods.
Never use paper towels, newspapers, or rough cloths on tinted windows. These materials can scratch the tint surface, creating permanent damage that affects both appearance and performance. Even if the scratches aren’t immediately visible, they accumulate over time and eventually become noticeable.
Avoid using razor blades, scrapers, or any sharp objects to remove stubborn dirt or debris. These tools can easily cut through the tint film, requiring expensive repairs or replacement. If you encounter stubborn spots, use an additional cleaning solution and patience rather than aggressive scraping.
Resist the urge to apply excessive pressure when cleaning. Tint film adheres to glass using adhesive, and too much pressure can cause bubbles to form or edges to lift. Let your cleaning solution do most of the work, and use only light pressure when wiping.
Don’t clean tinted windows immediately after installation. Most professional installers recommend waiting at least a week before cleaning the newly installed tint. This waiting period allows the adhesive to fully cure and the film to properly set.
Be cautious about the temperature when cleaning your windows. Extremely hot glass can cause cleaning solutions to evaporate too quickly, while very cold conditions can make the tint film more brittle and susceptible to damage.
Additional Tips for Long-Term Tint Maintenance
Beyond regular cleaning, several practices can help extend the life of your window tint. Park in shaded areas when possible to reduce UV exposure and heat buildup that can stress the tint film over time. While quality tint is designed to handle sun exposure, minimizing unnecessary stress helps maximize its lifespan.
Keep your windows rolled up during car washes, especially those using high-pressure sprayers. The force from pressure washers can damage tint edges or force water underneath the film. If you must use an automatic car wash, choose one that specifically accommodates tinted vehicles.
Address any tint damage promptly to prevent further deterioration. Small bubbles or lifting edges can often be repaired if caught early, but they typically worsen over time if ignored. Contact a professional tint installer if you notice any signs of damage.
Consider applying a protective coating designed for tinted windows. These products can provide an additional layer of protection against scratches and environmental damage while making future cleaning even easier.
Keeping Your Tint Crystal Clear
Proper window tint maintenance doesn’t require expensive products or complicated procedures. By following these safe cleaning methods and avoiding common mistakes, you can keep your tinted windows looking great while protecting your investment. Regular cleaning with appropriate materials will ensure your window tint continues to provide privacy, comfort, and style for many years.
Remember that patience and gentle technique are your best tools when cleaning tinted windows. Take your time, use the right products, and your tinted windows will reward you with clear visibility and lasting performance. When in doubt, consult with your tint installer or a professional detailer who has experience working with tinted vehicles.
Frequently Asked Questions About cleaning car window tint.
Can I use regular glass cleaner on tinted windows?
No, you should avoid regular glass cleaners on tinted windows. Most conventional glass cleaners contain ammonia, which can damage tint film by causing it to discolor, bubble, or peel. Always choose ammonia-free cleaners specifically designed for tinted windows, or make your own using mild soap and water.
How often should I clean my car’s window tint?
Clean your tinted windows as needed, typically every 2-4 weeks, depending on driving conditions and environmental factors. If you frequently drive on dusty roads or park under trees, you may need to clean them more often. Regular cleaning prevents dirt buildup that can become more difficult to remove over time.
Can window tint get damaged if not cleaned properly?
Yes, improper cleaning can cause significant damage to window tint. Using abrasive materials, harsh chemicals, or excessive pressure can scratch, discolor, or cause the tint to bubble and peel. Always use microfiber cloths, gentle cleaners, and light pressure to avoid damaging the film.
How do I remove streaks from tinted windows after cleaning?
To remove streaks, use a clean, dry microfiber cloth and gently buff the affected areas in straight lines rather than circular motions. If streaks persist, lightly mist the area with clean water and dry immediately. Sometimes streaks indicate residual cleaning product, which requires thorough removal with a damp cloth, followed by complete drying.
Is it safe to clean window tint with a power washer?
No, power washers are not recommended for cleaning tinted windows. The high pressure can force water underneath the tint film edges, causing lifting or bubbling. The intense pressure can also damage the tint surface. Stick to gentle hand-washing methods using appropriate cleaning solutions and soft microfiber cloths.
As an Amazon Associate, I earn from qualifying purchases