As an Amazon Associate, I earn from qualifying purchases
A clean engine bay doesn’t just look impressive when you pop the hood—it’s a crucial part of proper vehicle maintenance that many car owners overlook. Regular engine bay cleaning helps prevent corrosion, makes it easier to spot potential problems like leaks or worn components, and can even improve your car’s resale value.
Most drivers focus on washing the exterior and interior of their vehicles, but the engine compartment deserves equal attention. Over time, dirt, grease, road salt, and debris accumulate under the hood, creating a breeding ground for rust and making routine inspections nearly impossible. A dirty engine bay can also trap heat, potentially affecting your engine’s performance and longevity.
The good news? Cleaning your engine bay is simpler than you might think. With the right tools, products, and technique, you can safely remove years of buildup and restore your engine compartment to near-showroom condition. This comprehensive guide will walk you through every step of the process, from preparation to final inspection.
Whether you’re preparing your car for sale, performing routine maintenance, or simply want to take better care of your vehicle, learning how to clean your engine bay properly is an essential skill every car owner should master.
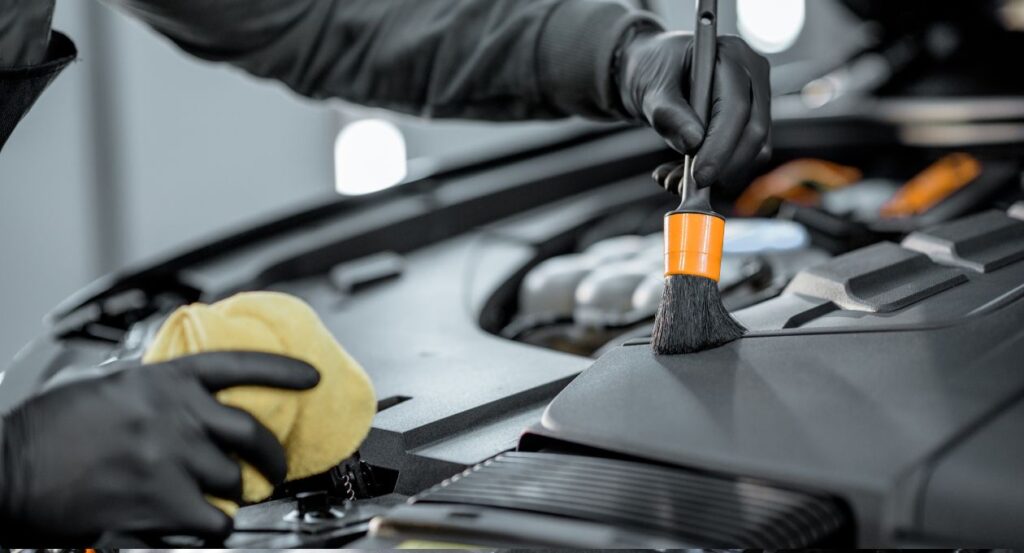
Table of Contents
Why Cleaning the Engine Bay is Important
Prevents Long-Term Damage
A dirty engine bay creates more problems than just unsightly appearance. Salt, dirt, and grime act like magnets for moisture, accelerating corrosion on metal components. This buildup can damage electrical connections, cause rubber seals to deteriorate faster, and lead to premature wear of engine parts.
Regular cleaning removes these harmful substances before they cause permanent damage. Clean surfaces also allow for better heat dissipation, helping your engine run at optimal temperatures and reducing the risk of overheating.
Makes Problem Detection Easier
When your engine bay is covered in grime, spotting potential issues becomes nearly impossible. Fresh fluid leaks, cracked hoses, corroded connections, and worn belts are much easier to identify on clean surfaces.
This early detection capability can save you hundreds or thousands of dollars in repair costs. A small coolant leak that’s caught early might require only a hose replacement, but if left unnoticed, it could lead to engine overheating and catastrophic damage.
Improves Maintenance Accessibility
Routine maintenance tasks like checking fluid levels, inspecting belts, and replacing air filters become much more pleasant when your engine bay is clean. Mechanics and service technicians also appreciate working on clean engines, which may result in more thorough inspections during routine service visits.
Clean engine components are easier to handle and work on, reducing the likelihood of dirt contaminating sensitive systems during maintenance procedures.
Enhances Vehicle Value and Pride of Ownership
A spotless engine bay signals to potential buyers that the vehicle has been well-maintained. It suggests attention to detail and proper care, which can significantly impact resale value.
Beyond financial benefits, maintaining a clean engine bay instills pride of ownership and demonstrates your commitment to proper vehicle care. It’s satisfying to open your hood and see gleaming components instead of a grimy mess.
How to Clean the Engine Bay of Your Car (Step-by-Step)
Step 1: Gather Your Tools and Materials
Before starting, assemble all necessary supplies:
Essential cleaning products:
- Engine degreaser (Simple Green Pro HD or Chemical Guys Signature Series work well)
- Microfiber towels or clean rags
- Soft-bristled brushes (old toothbrushes work great for detail work)
- Garden hose with adjustable nozzle
- Bucket for water
Safety and protection items:
- Plastic bags or plastic wrap
- Rubber bands or tape
- Safety glasses
- Rubber gloves
- Basic tools for battery disconnection
Optional items:
- Compressed air canister
- Engine bay dressing or protectant
- Detail brushes of various sizes
Step 2: Ensure Engine Safety
Allow your engine to cool completely if you’ve been driving. A warm engine is acceptable for cleaning, but never attempt to clean a hot engine as water can cause thermal shock and crack components.
Disconnect the negative battery terminal first, followed by the positive terminal. This prevents electrical shorts and protects sensitive electronic components during the cleaning process. Use basic hand tools to loosen the terminal clamps and set the cables aside where they won’t accidentally contact the battery posts.
Step 3: Protect Sensitive Components
Cover electrical components that shouldn’t get wet:
- Air intake system and air filter housing
- Electrical control modules (ECU, TCU, etc.)
- Exposed electrical connections and fuse boxes
- Alternator (though most modern alternators are weather-resistant)
- Any aftermarket electronic components
Use plastic bags secured with rubber bands or tape. Don’t over-wrap components—you want protection from direct water contact, not complete sealing that might trap moisture.
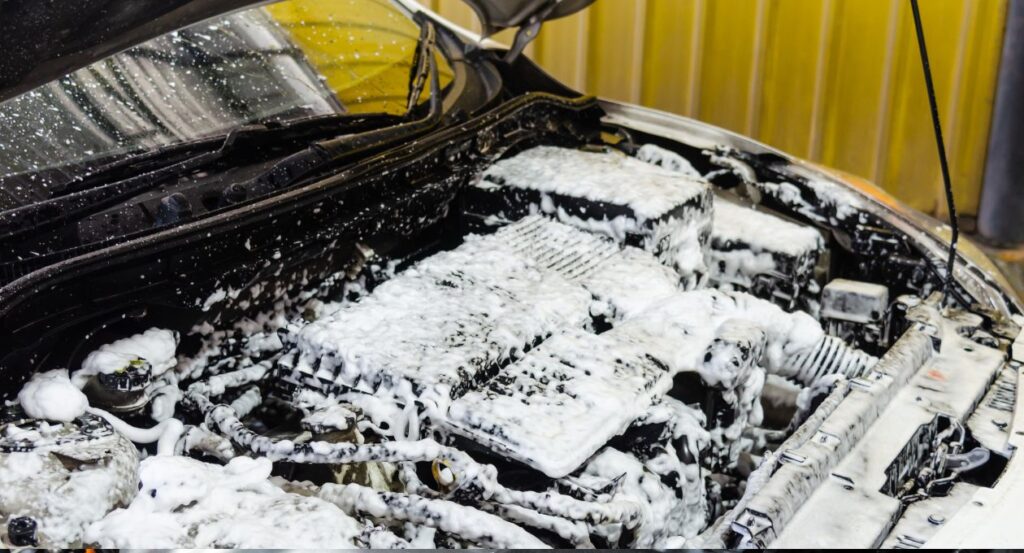
Step 4: Apply Engine Degreaser
Spray engine degreaser liberally over all dirty surfaces, focusing on areas with heavy grease buildup. Pay special attention to:
- Valve covers and cylinder head areas
- Oil filter housing and surrounding areas
- Transmission components
- Suspension components visible in the engine bay
- Brake fluid reservoir and surrounding areas
Allow the degreaser to sit for 5-10 minutes to break down stubborn grime. Don’t let it dry completely on surfaces—work in sections if your engine bay is heavily soiled.
Step 5: Agitate Stubborn Areas
Use soft-bristled brushes to work the degreaser into heavily soiled areas. Old toothbrushes excel at cleaning around bolt heads, in crevices, and along component edges where grime tends to accumulate.
For plastic components like fluid reservoirs and covers, use gentle circular motions to avoid scratching. Metal surfaces can handle slightly more aggressive brushing, but always start gently and increase pressure as needed.
Step 6: Rinse Thoroughly
Using your garden hose with an adjustable nozzle, rinse all surfaces with a gentle spray. Avoid high-pressure settings that might force water into protected electrical components or past weatherproofing seals.
Work systematically from top to bottom, ensuring all degreaser is completely removed. Pay attention to areas where degreaser might collect, such as the bottom of the battery tray or around suspension components.
Rinse multiple times if necessary—leftover degreaser can attract dirt more quickly than clean surfaces.
Step 7: Dry and Inspect
Remove all protective coverings from electrical components. Use clean microfiber towels to dry accessible surfaces, paying particular attention to areas around electrical connections.
Compressed air is excellent for blowing water out of crevices and hard-to-reach areas. If you don’t have compressed air, allow extra time for air drying before proceeding.
Step 8: Reconnect and Test
Reconnect the battery terminals (positive first, then negative) and ensure they’re tight. Start the engine and let it idle for a few minutes while checking for any unusual sounds, warning lights, or performance issues.
If everything operates normally, take a short test drive to ensure all systems function properly. The engine may run slightly differently for the first few minutes as any residual moisture evaporates.
Best Tools and Products for Cleaning the Engine Bay
Top Engine Degreasers
Chemical Guys Signature Series Orange Degreaser offers excellent cleaning power with a pleasant citrus scent. It’s biodegradable and safe for most engine bay materials when used as directed.
Simple Green Pro HD provides professional-strength cleaning without harsh solvents. It’s particularly effective on oil-based stains and is environmentally friendly.
Gunk Engine Brite has been a trusted choice for decades. It’s specifically formulated for automotive use and works well on heavily soiled engines.
Essential Brushes and Tools
Invest in a set of detailing brushes with different bristle stiffness levels. Boar’s hair brushes work well for delicate surfaces, while synthetic brushes handle tougher cleaning tasks.
Long-handled brushes help reach deep into the engine bay without requiring you to lean over hot or dirty surfaces. Angled brushes are particularly useful for cleaning around brake lines and suspension components.
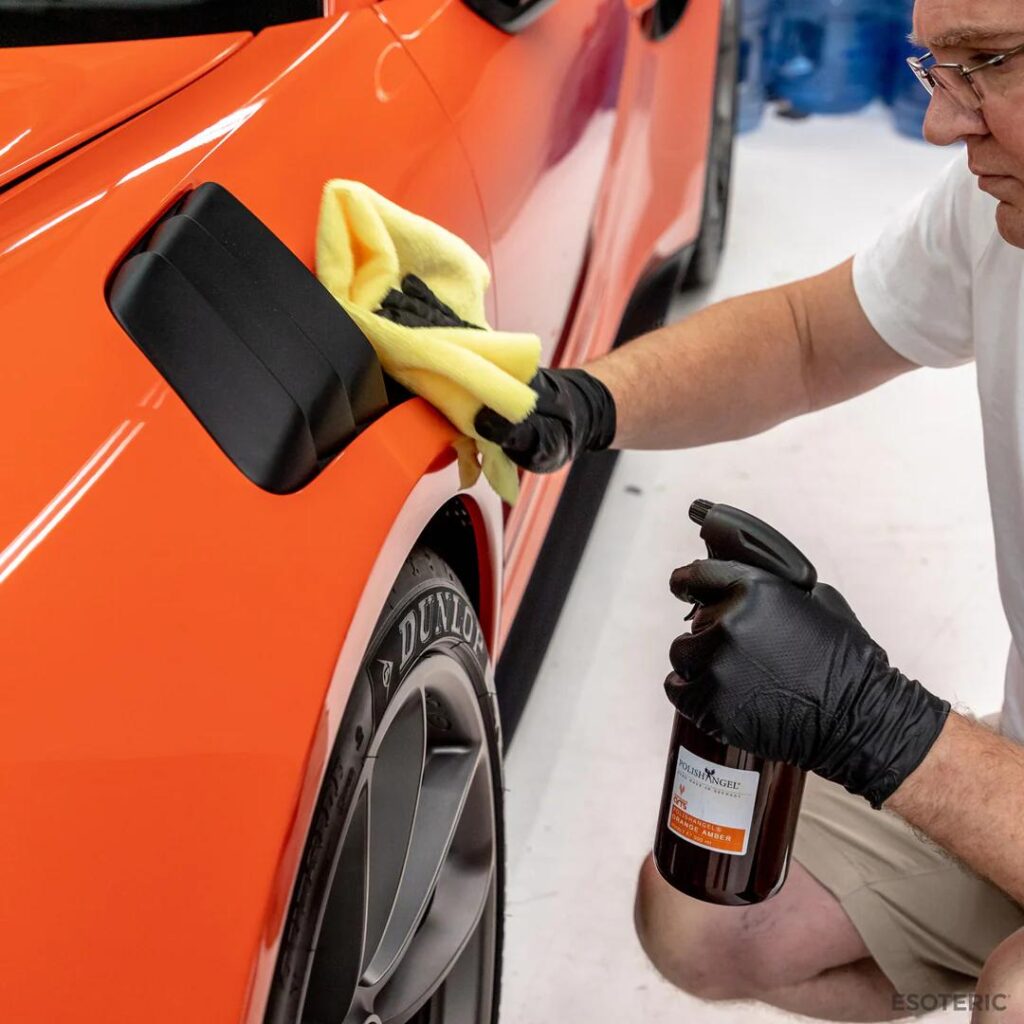
Microfiber vs. Traditional Towels
Quality microfiber towels outperform traditional cotton rags for engine bay cleaning. They absorb more water, trap dirt more effectively, and leave fewer fibers behind on clean surfaces.
Keep separate sets of towels for different tasks—use older towels for initial cleaning and save your best microfiber towels for final drying and detailing work.
Eco-Friendly Alternatives
For environmentally conscious car owners, consider biodegradable degreasers or create your own cleaning solution using dish soap and warm water. While not as powerful as commercial degreasers, these alternatives work well for routine maintenance cleaning.
Avoid harsh chemicals like brake cleaner or carburetor cleaner for general engine bay cleaning, as they can damage rubber and plastic components while creating environmental hazards.
How to Protect Your Engine Bay After Cleaning
Regular Maintenance Schedule
Clean your engine bay every 6-12 months under normal driving conditions. If you frequently drive on dusty roads, in coastal areas with salt air, or in harsh winter conditions with road salt, consider cleaning every 3-4 months.
Document your cleaning schedule and keep records of what you find during each cleaning session. This historical data helps identify developing problems and proves valuable for warranty claims or resale purposes.
Protective Products and Treatments
After cleaning, consider applying engine bay dressing to plastic and rubber components. These products provide UV protection and make future cleaning easier by preventing dirt adherence.
303 Aerospace Protectant offers excellent UV protection for plastic components without attracting dirt. Apply it sparingly with a microfiber cloth for best results.
Chemical Guys Bare Bones provides a natural, low-gloss finish that enhances the appearance of rubber hoses and plastic covers without looking artificial.
Prevention Strategies
Park in covered areas when possible to reduce exposure to environmental contaminants. Garage parking significantly extends the time between necessary engine bay cleanings.
Address fluid leaks promptly to prevent them from attracting dirt and creating larger cleaning challenges. Small leaks are much easier to clean when fresh compared to after they’ve collected months of road grime.
Consider installing an engine bay cover or shield if your vehicle didn’t come with adequate protection from road spray and debris.
Seasonal Considerations
Pay extra attention to engine bay cleaning before and after winter in areas where road salt is used. Salt accelerates corrosion and requires more frequent cleaning to prevent long-term damage.
After off-road adventures, clean the engine bay within a few days to remove mud, sand, and debris that can trap moisture and cause corrosion.
Keep Your Engine Bay Pristine
Regular engine bay maintenance is an investment in your vehicle’s longevity and performance. The hour or two you spend cleaning every few months can prevent costly repairs and maintain your car’s value for years to come.
Start with a gentle approach and gradually develop your technique as you become more comfortable with the process. Remember that consistency matters more than perfection—a regularly maintained engine bay will always be easier to clean than one that’s been neglected for years.
The next time you pop your hood, take pride in seeing clean, well-maintained components instead of a grimy mess. Your engine—and your wallet—will thank you for the attention to detail.
Frequently Asked Questions
Can I use a pressure washer to clean my engine bay?
While possible, pressure washers aren’t recommended for engine bay cleaning. The high-pressure water can force moisture into electrical connections, past weatherproofing seals, and into sensitive components. A regular garden hose with an adjustable nozzle provides adequate cleaning power while maintaining better control over water placement and pressure.
Do I need to remove the engine before cleaning?
Absolutely not. Engine bay cleaning is performed with the engine installed in the vehicle. Removing an engine requires specialized equipment and expertise far beyond routine maintenance. All cleaning procedures in this guide are designed for in-vehicle maintenance.
Is it safe to clean the engine bay at home?
Yes, engine bay cleaning is safe when proper precautions are followed. Always disconnect the battery, protect electrical components, ensure adequate ventilation when using chemical cleaners, and wear appropriate safety equipment. Avoid cleaning on hot engines and take your time to work safely.
What are the best products to clean the engine bay?
The best products depend on your specific needs and preferences. Chemical Guys Signature Series Orange Degreaser and Simple Green Pro HD are excellent choices for most applications. For heavily soiled engines, Gunk Engine Brite provides extra cleaning power. Always choose products specifically designed for automotive use.
How often should I clean the engine bay?
Under normal driving conditions, clean your engine bay every 6-12 months. Increase frequency to every 3-4 months if you drive in harsh conditions such as dusty environments, coastal areas with salt air, or regions that use road salt in winter. Regular inspection during routine maintenance can help determine when cleaning is needed.
As an Amazon Associate, I earn from qualifying purchases