As an Amazon Associate, I earn from qualifying purchases
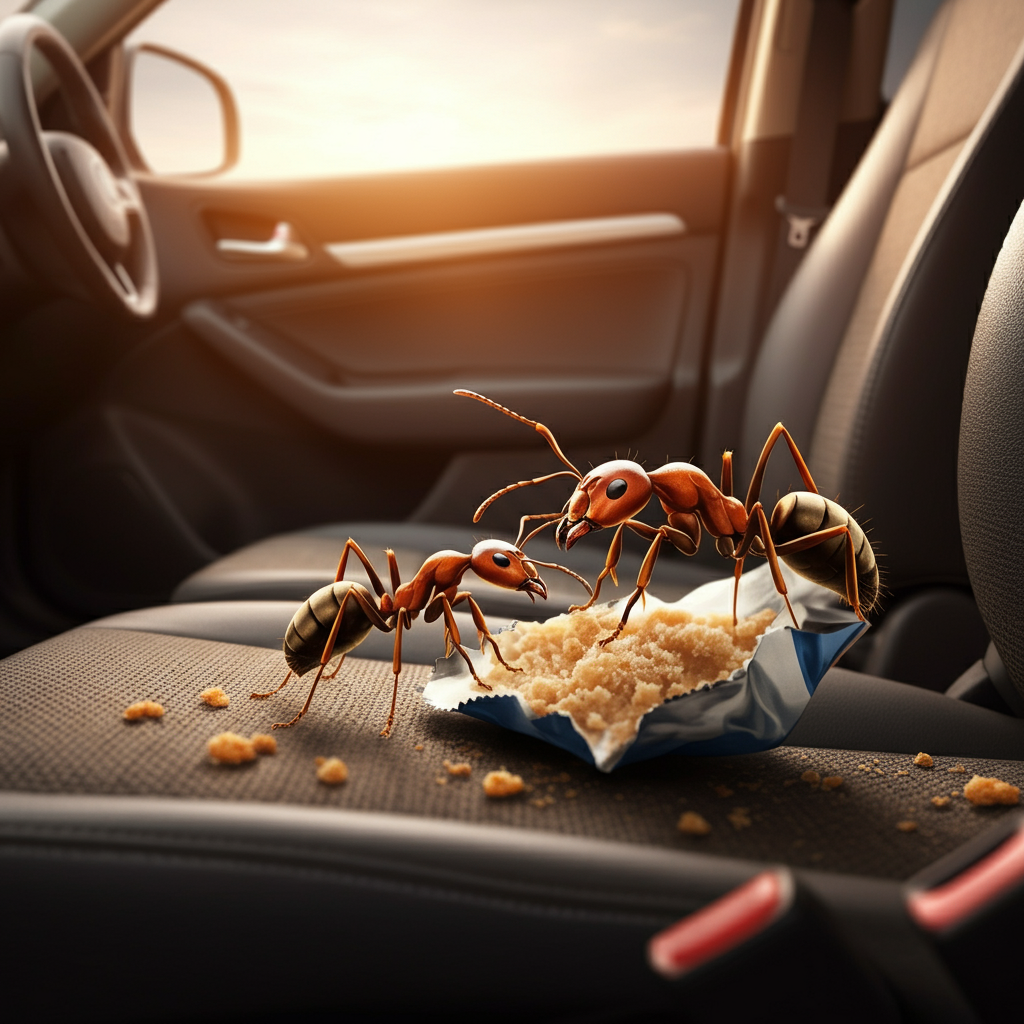
Your car’s interior takes a beating every single day. From coffee spills during morning commutes to muddy shoes after weekend adventures, the inside of your vehicle accumulates dirt, debris, and odors faster than you might realize. While many car owners focus on washing the exterior, the interior often gets neglected until it becomes uncomfortably grimy.
A clean car interior isn’t just about appearances, though stepping into a fresh, organized vehicle certainly feels better than climbing into a cluttered mess. Regular interior cleaning protects your investment, maintains your car’s resale value, and creates a healthier environment for you and your passengers. Dust, allergens, and bacteria can build up in your car’s confined space, potentially affecting air quality and your well-being.
The good news? Cleaning your car interior doesn’t require expensive professional services or hours of your time. With the right approach, tools, and products, you can achieve professional-level results from your own driveway. This comprehensive guide will walk you through each step of the process, from gathering supplies to maintaining that fresh-car feeling long-term.
Whether you’re dealing with everyday dust and crumbs or tackling stubborn stains and persistent odors, you’ll learn proven techniques that work for every type of interior material. Let’s transform your car’s interior from neglected to spotless.
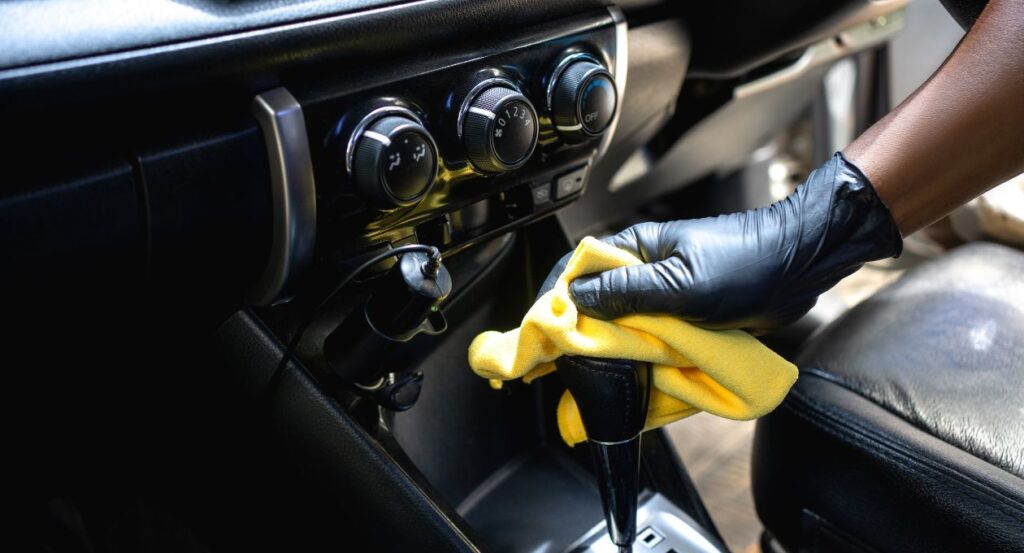
Table of Contents
Why It’s Important to Clean Your Car Interior
Health Benefits
Your car’s interior harbors more bacteria and allergens than you might expect. Studies have shown that the average car interior contains hundreds of different types of bacteria, including some that can cause illness. Dust mites, pollen, and other allergens accumulate in seat cushions and carpets, potentially triggering respiratory issues or allergic reactions.
Regular cleaning eliminates these health hazards by removing the dirt and moisture that bacteria need to thrive. Vacuuming carpets and upholstery removes allergens, while wiping down surfaces eliminates germs that accumulate from frequent touching. For families with children or individuals with allergies or asthma, maintaining a clean car interior becomes even more crucial for overall health and comfort.
Prolonging the Life of Your Car
Your car’s interior represents a significant portion of your vehicle’s value. Leather seats, dashboard materials, and carpeting all deteriorate faster when dirt and grime are allowed to accumulate. Dust acts like sandpaper on surfaces, causing premature wear and fading. Spills that aren’t cleaned promptly can cause permanent staining or damage to seat materials.
Regular cleaning and conditioning of leather seats prevent cracking and maintain flexibility. Protecting dashboard materials from dust buildup prevents the plastic from becoming brittle and cracking over time. Even something as simple as vacuuming floor mats regularly prevents embedded dirt from wearing through the material.
Aesthetic Appeal and Resale Value
A well-maintained interior significantly impacts your car’s resale value. Potential buyers notice interior condition immediately, and a clean, fresh-smelling car interior suggests the vehicle has been well cared for overall. Conversely, stained seats, dirty carpets, or persistent odors can reduce your car’s value by hundreds or even thousands of dollars.
Beyond resale considerations, a clean interior simply makes every drive more enjoyable. You’ll feel more comfortable and confident in your vehicle, whether you’re driving to work, picking up friends, or taking clients to important meetings.
How to Clean Your Car Interior (Step-by-Step)
Step 1: Gather Your Supplies
Success starts with having the right tools and products on hand. You’ll need a powerful vacuum cleaner with various attachments, including a crevice tool for tight spaces and an upholstery brush for fabric surfaces. Microfiber cloths are essential—they trap dirt effectively without scratching surfaces.
For cleaning products, choose items specifically designed for automotive use. You’ll need upholstery cleaner appropriate for your seat material (fabric or leather), glass cleaner that won’t leave streaks, and an all-purpose interior cleaner for hard surfaces. Don’t forget protective gear like rubber gloves, and ensure you have adequate ventilation while working.
Other useful supplies include cotton swabs for detailed work around buttons and vents, a soft-bristled brush for delicate surfaces, and clean towels for drying. Having everything ready before you start prevents interruptions and ensures you can work efficiently.
Step 2: Start with the Trash and Clutter
Before any actual cleaning begins, remove everything from your car interior. This includes obvious trash like food wrappers and receipts, but also items you want to keep, such as charging cables, sunglasses, and emergency supplies. Check all compartments, including the glove box, center console, door pockets, and seat-back pockets.
Take this opportunity to organize the items you’re putting back. Designate specific spots for frequently used items and consider investing in organizers to prevent future clutter. Remove floor mats and shake them out—you’ll clean these separately later.
This decluttering step might seem tedious, but it’s crucial for thorough cleaning. You can’t effectively vacuum or wipe surfaces when they’re covered with belongings, and you might accidentally damage items with cleaning products.
Step 3: Vacuum the Seats, Floor Mats, and Carpets
Start vacuuming from the top down, beginning with the seats. Use the upholstery attachment to thoroughly vacuum seat surfaces, paying special attention to crevices where crumbs and debris collect. Move the seats forward and backward to access areas that are normally hidden.
For carpets and floor areas, use overlapping strokes to ensure complete coverage. The crevice tool is invaluable for reaching under seats, around pedals, and in the tight spaces where the seat meets the floor. Don’t forget to vacuum the trunk area if it needs attention.
Floor mats require special attention since they trap the most dirt. Vacuum both sides thoroughly, and consider using a brush attachment to loosen embedded dirt before vacuuming again. If mats are heavily soiled, you might need to wash them separately with soap and water.
Step 4: Clean the Dashboard and Console
The dashboard and center console accumulate dust, fingerprints, and sticky residues from spilled drinks. Start by dusting with a microfiber cloth to remove loose particles. For deeper cleaning, use an automotive interior cleaner applied to your cloth, not directly to surfaces.
Pay attention to air vents, which collect significant amounts of dust. Use a soft brush or cotton swabs to clean between the slats, then follow up with a cloth. Clean all buttons, switches, and the steering wheel thoroughly, as these are high-touch areas that harbor bacteria.
Be gentle with electronic displays and avoid getting moisture in sensitive areas. Use separate cloths for different areas to prevent cross-contamination, and work in sections to ensure nothing gets missed.
Step 5: Clean the Windows and Mirrors
Clean windows are essential for safety and appearance. Use automotive glass cleaner rather than household products, which can leave residues that create glare. Spray cleaner onto your cloth rather than directly onto the glass to prevent overspray onto other surfaces.
Clean windows in sections, using circular motions followed by straight vertical or horizontal strokes for a streak-free finish. Don’t forget the inside of the windshield, which can become surprisingly dirty from dashboard dust and interior humidity.
Mirrors require the same careful attention. Clean, clear mirrors are crucial for safe driving, so take time to remove all spots and streaks. Use fresh clothes as needed to avoid redistributing dirt.
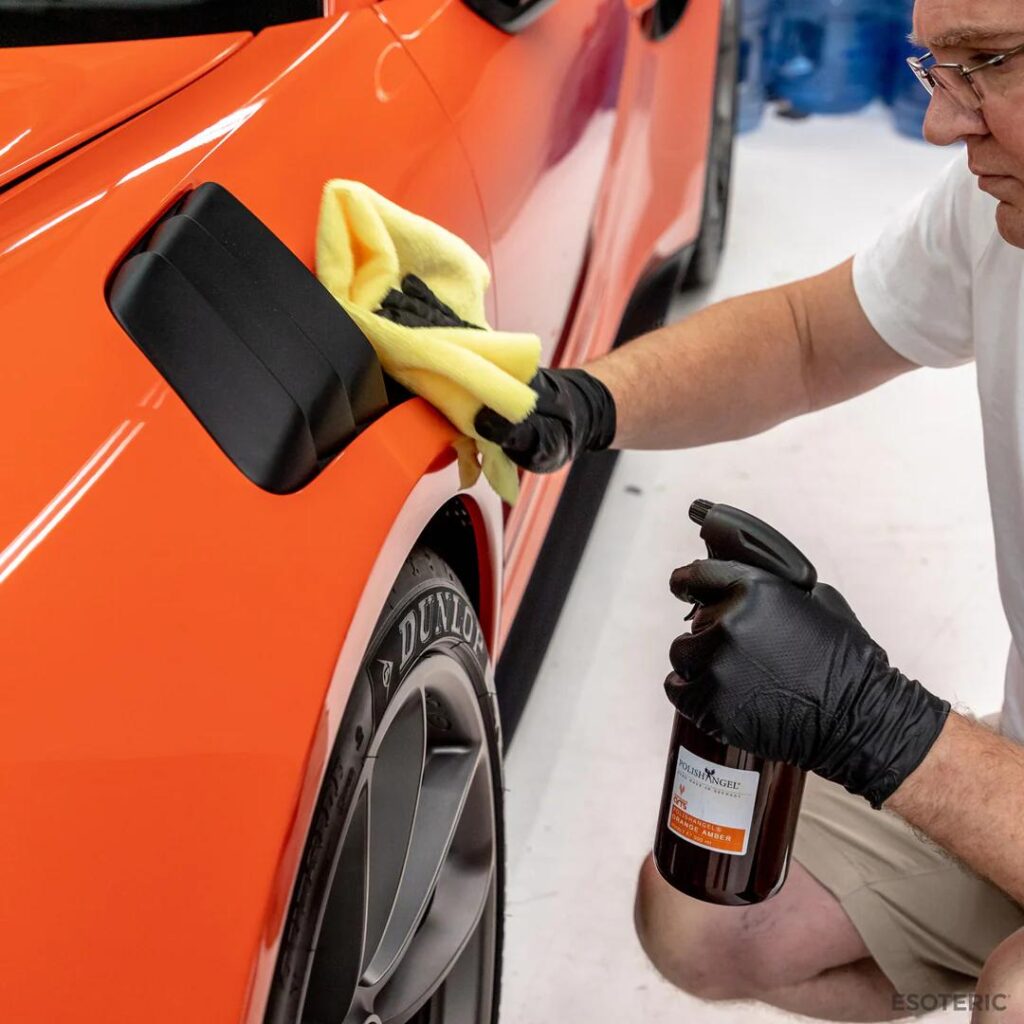
Step 6: Treat Upholstery (Fabric or Leather)
Upholstery cleaning techniques vary significantly depending on the seat material. For fabric seats, test any cleaner in an inconspicuous area first. Apply upholstery cleaner according to the manufacturer’s instructions, work it in gently with a brush, then extract or blot away residue.
Leather seats require special care. Use products specifically designed for automotive leather, and always follow cleaning with conditioning to prevent cracking and maintain suppleness. Work leather cleaner into the surface with a soft cloth, then buff clean with a separate cloth.
For both materials, allow adequate drying time before using the vehicle. Proper ventilation speeds the process and prevents moisture-related issues like mold or mildew.
Best Tools and Products for Cleaning Your Car Interior
Investing in quality tools makes interior cleaning more effective and efficient. A powerful shop vacuum or dedicated car vacuum provides the suction needed to extract embedded dirt from carpets and upholstery. Look for models with multiple attachments designed for automotive use.
Microfiber cloths are superior to paper towels or old rags because they trap dirt rather than pushing it around. Purchase several cloths and designate specific ones for different tasks—glass, leather, hard surfaces—to prevent cross-contamination.
For cleaning products, automotive-specific formulations work better than household alternatives. They’re designed for the materials and conditions found in car interiors. Quality leather cleaners and conditioners, fabric upholstery cleaners, and streak-free glass cleaners are worth the investment for superior results.
Consider eco-friendly options if you’re concerned about chemical exposure or environmental impact. Many green cleaning products perform as well as traditional formulations while being safer for you and the environment.
Tips to Maintain Your Car’s Interior Cleanliness
Prevention is always easier than deep cleaning. Use seat covers and floor mats as barriers against dirt and spills. Choose covers that are easy to remove and wash, and replace them when they become too worn to be effective.
Establish regular cleaning habits rather than waiting for your interior to become noticeably dirty. A quick vacuum and wipe-down every week or two prevents dirt buildup and makes deep cleaning less necessary. Keep a small handheld vacuum in your garage for quick touch-ups.
Address spills immediately before they can set or stain. Keep a small cleaning kit in your car with cloths and spot cleaners for emergencies. Train family members to clean up after themselves and avoid eating messy foods in the car when possible.
Use sunshades to protect your dashboard and seats from UV damage, which causes fading and cracking. Park in shade when possible, and consider window tinting to reduce heat and UV exposure.
Keep Your Car Interior Fresh and Clean
Regular interior cleaning transforms your driving experience while protecting your investment. The step-by-step process outlined here works for any vehicle, from compact cars to large SUVs. By establishing a routine and using proper techniques and products, you can maintain a professional-looking interior without professional prices.
Remember that consistency is key. Regular light cleaning prevents the buildup that requires intensive deep cleaning sessions. Your car’s interior will stay fresher, healthier, and more attractive with minimal ongoing effort.
Start implementing these techniques today, and you’ll quickly notice the difference in both appearance and comfort. Your future self—and any passengers—will thank you for the effort.
Frequently Asked Questions
How often should I clean my car interior?
For most drivers, a thorough interior cleaning once a month is sufficient, with weekly touch-ups like vacuuming and wiping down surfaces. Heavy-use vehicles or those exposed to pets, children, or dusty conditions may need more frequent attention. Listen to your car—if it looks dirty or smells off, it’s time for a cleaning session.
Can I use household cleaners to clean my car seats?
It’s best to avoid household cleaners on car upholstery. Automotive-specific products are formulated for the materials and conditions in vehicles. Household cleaners might contain chemicals that can damage or discolor car interior materials, void warranties, or leave residues that attract more dirt.
How do I get rid of pet hair from the car interior?
Pet hair removal requires patience and the right tools. A rubber glove or rubber brush works well—the static electricity helps pull hair from fabric. Vacuum with an upholstery attachment after loosening hair with the rubber tool. For stubborn hair, try a pumice stone (used gently) or specialized pet hair removal tools available at auto parts stores.
What’s the best way to remove stains from car upholstery?
Address stains immediately when possible. Blot liquids—don’t rub, which can spread the stain. For fabric seats, use automotive upholstery cleaner following the manufacturer’s instructions. Test in an inconspicuous area first. For set-in stains, you may need multiple treatments or professional help. Leather requires different treatment—clean gently and condition afterward.
How can I get rid of bad odors in the car?
Start by identifying and removing the odor source if possible. Clean all surfaces thoroughly, as odors often come from accumulated dirt and spills. Use automotive odor eliminators rather than air fresheners, which only mask smells. For persistent odors, try leaving an open box of baking soda in the car overnight, or consider professional ozone treatment for serious issues like smoke or pet odors.
As an Amazon Associate, I earn from qualifying purchases