As an Amazon Associate, I earn from qualifying purchases
Nothing ruins a car’s clean appearance quite like sticky, stubborn residue left behind from old bumper stickers, parking permits, or dealership decals. What starts as a simple attempt to peel off an unwanted sticker often turns into a frustrating battle with gummy, adhesive remnants that seem impossible to remove.
Sticker residue is one of those automotive maintenance challenges that catches many car owners off guard. You might think removing a sticker would be straightforward—just peel and go. But adhesives are designed to create lasting bonds, and when they’ve had months or years to cure on your vehicle’s surface, they don’t give up without a fight.
The good news is that you don’t need expensive professional treatments or harsh chemicals that could damage your car’s finish. With the right techniques and tools—many of which you probably already have at home—you can effectively remove even the most stubborn sticker residue. This guide will walk you through proven methods that work on different car surfaces, help you choose the safest approach for your vehicle, and ensure you get professional-looking results without professional costs.
Table of Contents
- 1 Why Sticker Residue is Hard to Remove from Cars
- 2 Best Methods to Get Sticker Residue Off a Car
- 3 How to Safely Remove Sticker Residue Without Damaging the Paint
- 4 Best Tools for Sticker Residue Removal
- 5 How to Remove Sticker Residue from Different Car Surfaces
- 6 Professional Tips for Stubborn Residue
- 7 Protecting Your Investment
- 8 Frequently Asked Questions
- 9 Keep Your Car Looking Its Best
Why Sticker Residue is Hard to Remove from Cars
Understanding why sticker residue clings so tenaciously to car surfaces helps explain why removal can be challenging. Most automotive stickers use pressure-sensitive adhesives (PSAs) that create molecular bonds with the surface material. These adhesives are specifically formulated to maintain their grip through various weather conditions, temperature fluctuations, and UV exposure.
Car manufacturers design vehicle surfaces—whether painted metal, glass, or plastic trim—to be durable and resistant to environmental damage. Unfortunately, these same properties that protect your car also provide an ideal surface for adhesives to bond with. The smoother and cleaner the surface, the stronger the adhesive connection becomes.
Environmental factors compound the problem significantly. Heat from sun exposure causes adhesives to soften and penetrate deeper into microscopic surface irregularities. Cold weather makes adhesives brittle but also more likely to break apart during removal, leaving behind fragmented residue. Moisture and humidity can cause some adhesives to break down chemically, creating a gummy consistency that’s particularly difficult to clean.
Time is perhaps the biggest factor working against easy removal. Fresh sticker residue often comes off with minimal effort, but adhesives that have been exposed to multiple heating and cooling cycles become increasingly stubborn. The molecular bonds strengthen, and the adhesive may partially cure or undergo chemical changes that make it more resistant to solvents.
Best Methods to Get Sticker Residue Off a Car
Rubbing Alcohol Method
Isopropyl alcohol (70% or higher concentration) ranks among the most effective and safest solvents for automotive sticker residue removal. Start by applying alcohol to a clean microfiber cloth—never pour it directly onto the car surface. Press the damp cloth against the residue and let it sit for 2-3 minutes to allow the alcohol to penetrate and break down the adhesive bonds.
Using gentle circular motions, begin working from the outside edges of the residue toward the center. This prevents spreading the sticky material to clean areas. For stubborn spots, reapply alcohol and let it dwell longer before attempting removal. The alcohol evaporates quickly and won’t leave behind its own residue, making it ideal for painted surfaces.
WD-40 Penetrating Oil
WD-40 excels at breaking down adhesive bonds and provides excellent results on older, more stubborn residue. Spray a small amount directly onto the residue and allow 5-10 minutes for penetration. The penetrating oil works by getting between the adhesive and the surface, essentially lifting the bond from underneath.
Use a plastic scraper or old credit card to gently work the loosened residue away from the surface. Work in small sections and reapply WD-40 as needed. After successful removal, clean the area with dish soap and water to remove any oil residue, followed by a thorough rinse and dry.
White Vinegar Solution
White vinegar offers an eco-friendly alternative that works particularly well on water-based adhesives. Heat the vinegar slightly (warm, not hot) to increase its effectiveness. Apply with a cloth and let it sit for several minutes before attempting removal.
The acidic nature of vinegar helps break down certain types of adhesive bonds, though it may require more time and patience compared to alcohol or WD-40. This method works best on newer residue and may need multiple applications for older, more stubborn deposits.
Commercial Adhesive Removers
Professional-grade products like Goo Gone, 3M Adhesive Remover, or Turtle Wax Bug and Tar Remover are specifically formulated for automotive use. These products often contain citrus-based solvents that effectively dissolve adhesive bonds while being relatively gentle on car finishes.
Follow manufacturer instructions carefully, as application methods and dwell times vary between products. Most commercial removers require thorough washing after use to remove any product residue that could attract dirt or affect wax and sealant performance.
How to Safely Remove Sticker Residue Without Damaging the Paint
Protecting your car’s paint during sticker residue removal requires a methodical approach and proper technique. Always start by washing the affected area with soap and water to remove surface dirt and debris that could scratch the paint during the removal process.
Test any solvent or removal method in an inconspicuous area first—such as inside a door jamb or under a bumper edge. Apply your chosen method and wait 10-15 minutes to ensure no adverse reactions like discoloration, dulling, or paint softening occur. This test step is crucial because some aftermarket paints or touch-up work may react differently than original factory finishes.
Work in shade whenever possible, as direct sunlight can cause solvents to evaporate too quickly, reducing their effectiveness. Hot surfaces can also cause some solvents to become more aggressive, potentially affecting paint or clear coat. If you must work in sun, consider doing the job early morning or evening when temperatures are cooler.
Never use abrasive materials like steel wool, coarse scrubbing pads, or razor blades on painted surfaces. These tools can create permanent scratches that may require professional paint correction to repair. Stick to soft cloths, plastic scrapers, and gentle techniques that rely on chemical action rather than mechanical force.
When removing residue, work systematically in small sections rather than trying to tackle large areas at once. This approach allows you to monitor your progress and ensures that solvents don’t dry out before completing the removal process. Keep the area lubricated with your chosen solvent throughout the process.
Best Tools for Sticker Residue Removal
Plastic Scrapers and Credit Cards
Plastic scrapers specifically designed for automotive use offer the perfect balance of firmness and flexibility for residue removal. Old credit cards work similarly and are readily available, though they may be slightly more rigid than purpose-built tools.
The key advantage of plastic tools is their ability to apply focused pressure without scratching painted surfaces. They’re particularly effective for removing the bulk of softened residue after solvent treatment. Keep the scraper at a low angle to the surface and use smooth, consistent pressure rather than aggressive jabbing motions.
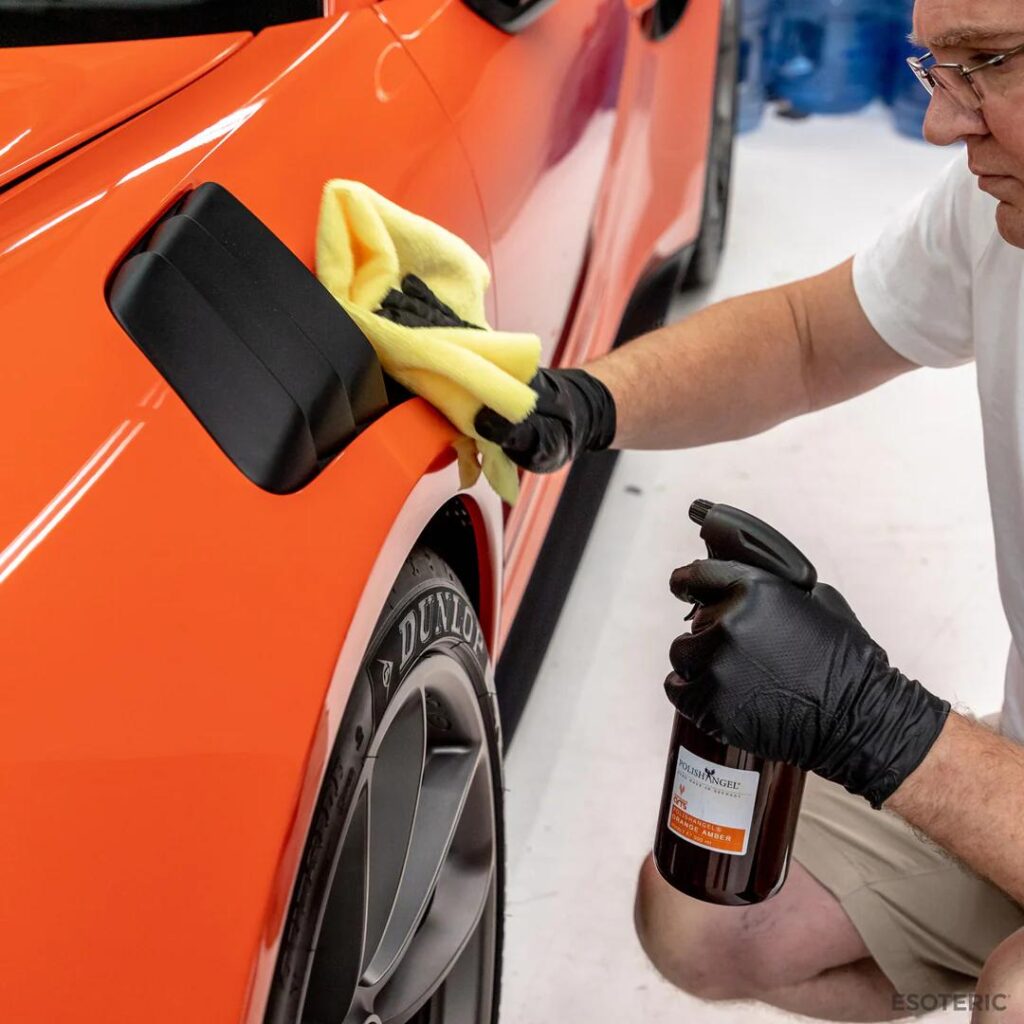
Microfiber Cloths
High-quality microfiber cloths are essential for both applying solvents and final cleanup. Their fine fibers can reach into microscopic surface irregularities where residue might hide, while their lint-free nature prevents leaving behind fibers that could interfere with the removal process.
Use separate cloths for different stages of the process—one for applying solvents, another for working the residue, and a clean one for final polishing. This prevents cross-contamination and ensures the best possible results.
Rubber Erasers
Surprisingly effective for final cleanup, rubber erasers can remove light residue films that other methods might leave behind. Use clean, soft erasers and work with gentle pressure. This method works particularly well on glass surfaces where slight abrasive action won’t cause damage.
Heat Sources (Hair Dryer or Heat Gun)
Controlled heat application can significantly soften stubborn adhesive residue, making it easier to remove with other methods. Hair dryers provide gentle, controlled heat that’s safe for most automotive surfaces. Keep the heat source moving to prevent concentrating heat in one area, which could damage paint or plastic trim.
Professional heat guns offer more power but require greater care and experience to use safely. If using a heat gun, maintain safe distances and use the lowest effective heat setting.
How to Remove Sticker Residue from Different Car Surfaces
Metal and Painted Surfaces
Painted metal surfaces require the most careful approach since damage here is often the most visible and expensive to repair. Start with the gentlest method—rubbing alcohol—and progressively try stronger solvents only if needed.
Apply your chosen solvent and allow adequate dwell time for chemical action to occur. Use plastic scrapers to remove softened residue, working in the direction of any existing scratches or paint texture when possible. This helps minimize the visibility of any minor marring that might occur.
After successful removal, inspect the area under good lighting to ensure complete cleaning. Any remaining film or residue will attract dirt and become more visible over time. Follow up with a thorough wash and consider applying wax or sealant to restore the surface’s protective coating.
Glass Surfaces
Glass surfaces are the most forgiving for sticker residue removal since they can tolerate slightly more aggressive methods without permanent damage. Razor blades can be used on glass, but only with proper technique—keep the blade wet with solvent and maintain a low angle to prevent scratching.
Be particularly cautious around window tinting or defrost elements on rear windows. These features require the same gentle approach used on painted surfaces. When working on windshields, avoid getting solvents on dashboard materials or interior surfaces where they might cause damage or staining.
Plastic Trim and Components
Plastic surfaces present unique challenges because different plastic formulations react differently to solvents. Some plastics may be softened or discolored by strong solvents that are safe on paint or glass.
Always test plastic surfaces in hidden areas before proceeding with full treatment. Start with mild solvents like diluted rubbing alcohol before progressing to stronger options. Textured plastic surfaces may hold residue in their texture, requiring patience and multiple applications to achieve complete removal.
Flexible plastic trim pieces can often be removed from the vehicle for easier cleaning, though this should only be attempted if you’re comfortable with the disassembly process and have appropriate replacement clips or fasteners if needed.
Professional Tips for Stubborn Residue
When standard methods prove insufficient, several advanced techniques can tackle even the most stubborn adhesive deposits. Combination approaches often work better than relying on a single method.
Try the “heat and solvent” method: Apply your chosen solvent, then use gentle heat from a hair dryer to increase the solvent’s effectiveness. The heat helps the solvent penetrate deeper while softening the adhesive simultaneously.
For extremely old or thick residue, consider the “layered removal” approach. Remove as much material as possible with initial treatment, clean the area thoroughly, then repeat the entire process. This prevents overworking the surface while ensuring complete removal.
Soaking techniques work well for heavily contaminated areas. Apply solvent-soaked cloths to the residue and cover with plastic wrap to prevent evaporation. Allow 30-60 minutes of contact time before attempting removal.
Protecting Your Investment
Complete sticker residue removal involves more than just getting the sticky material off your car. Proper finishing ensures long-term surface protection and maintains your vehicle’s appearance.
After successful removal, wash the entire area with automotive soap to remove all solvent residues. Some solvents can interfere with wax, sealants, or future paint treatments if not completely removed. Rinse thoroughly and dry with clean microfiber towels.
Inspect your work under different lighting conditions—direct sunlight, shade, and artificial light—to ensure complete removal. Any remaining residue will become more apparent over time as it attracts dirt and oxidizes.
Consider applying fresh wax or sealant to treated areas, especially on painted surfaces. The removal process may have stripped existing protection, leaving the surface vulnerable to environmental damage.
Frequently Asked Questions
Can I use nail polish remover to get sticker residue off my car?
Nail polish remover (acetone) is too aggressive for most automotive surfaces and can permanently damage paint, plastic trim, and rubber seals. Acetone can soften or dissolve the clear coat on painted surfaces and cause plastic components to become cloudy or brittle. Stick to automotive-appropriate solvents like isopropyl alcohol or commercial adhesive removers that are formulated to be effective yet safe on car surfaces.
Does heat help in removing sticker residue?
Yes, controlled heat application can significantly improve removal success. Heat softens adhesive bonds, making residue easier to scrape away. Use a hair dryer on low to medium heat, keeping it moving to prevent concentrating heat in one area. Apply heat for 30-60 seconds, then immediately work with your chosen solvent and removal tool while the adhesive is still warm. Avoid excessive heat that could damage paint or cause plastic trim to warp.
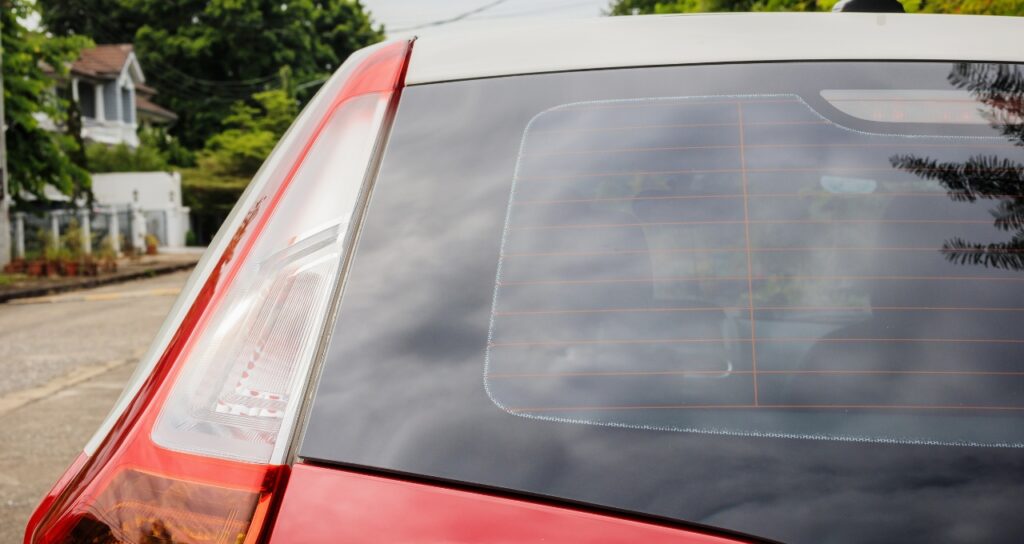
Is it safe to remove sticker residue from tinted windows?
Window tinting requires extra caution during residue removal. Never use razor blades, abrasive materials, or strong solvents on tinted surfaces, as these can damage or discolor the tinting film. Stick to gentle solvents like diluted isopropyl alcohol and soft cloths. Work with minimal pressure and test in a corner first. If residue is on the exterior of tinted windows, standard glass cleaning methods are usually safe, but interior surfaces require the same care as the tinting material itself.
What should I do if the sticker residue is old and hard to remove?
Older, hardened residue often requires patience and repeated applications rather than stronger solvents. Try the soaking method: apply your chosen solvent to a cloth, place it over the residue, and cover with plastic wrap to prevent evaporation. Allow 30-60 minutes for the solvent to penetrate before attempting removal. You may need to repeat this process several times, removing what you can with each cycle. Gentle heat application can also help reactivate old adhesives.
Can I prevent sticker residue from forming?
Yes, several preventive measures can minimize future residue problems. When applying new stickers, clean the surface thoroughly first—adhesives bond better to clean surfaces but may be easier to remove later. Consider using removable adhesive products when possible, though these may not provide the longevity of permanent adhesives. For temporary applications, automotive masking tape or removable vinyl graphics offer alternatives that come off cleanly. When you know a sticker will need removal, periodic cleaning around the edges can prevent environmental buildup that makes removal more difficult.
Keep Your Car Looking Its Best
Successfully removing sticker residue from your car doesn’t require professional tools or expensive products. With the right techniques, common household items like rubbing alcohol and plastic scrapers can achieve professional-quality results. The key lies in understanding your car’s surfaces, choosing appropriate methods, and working patiently to avoid damage.
Remember that prevention remains the best strategy for avoiding residue problems. When possible, choose removable products for temporary applications and clean surfaces regularly to prevent environmental buildup. However, when you do face stubborn residue, the methods outlined in this guide will help you restore your car’s clean appearance safely and effectively.
Taking the time to properly remove sticker residue not only improves you
Meta titler car’s appearance but also protects its long-term value. Clean, well-maintained surfaces are easier to keep clean and provide better protection against environmental damage. Your investment in proper removal techniques pays dividends in reduced maintenance needs and preserved vehicle aesthetics.
As an Amazon Associate, I earn from qualifying purchases